Structure of a Virtual Space
A virtual space consists of Spaces and Modules. Spaces represent real or fictional spaces, meaning a space can represent for example a room in a building or exhibition, or it can represent a specific topic such as "programming in Python". A Space consists of a background image and links that are placed on the background image that allow users to move from one Space to another, from a Space to a Module, or from a Space to a website outside of a virtual space. Modules are built up similar to PowerPoint presentations. They consist of Slides that contain images and texts. Those slides are arranged in Sequences that define the order of the slides in a Module. A specific type of Slide is a Branching Point. Branching Points are Slides that in addition to text and images have Branching Point Choices (or Choices) that allow a user to jump out of a current Sequence into another one, effectively giving the arrangement of Slides in a Module a tree structure.
Virtual Spaces 2.0
Virtual Spaces 2.0 has two components: the public virtual space that any user can see without being logged in and a private space requiring a user account and certain privileges that allows the creation of Spaces and Modules. To login to the private space, click on the login icon in the right upper corner. This will bring you to a page that allows you to either login or create a new user account. If you sign up for a new user account, an admin user will have to first approve your account and give you certain privileges before you can login to the private space.
Overview
Clicking on the "Spaces" link in the menu will take you to the Space management.
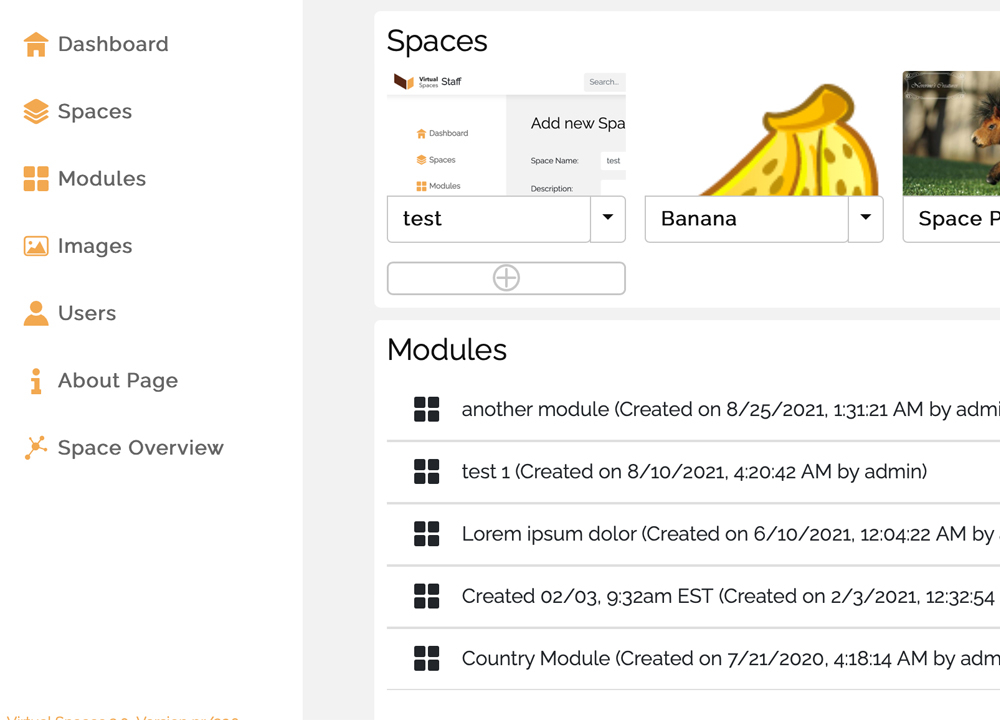
From here you can either click on an existing space to modify it or create a new one.
Create a Space
To create a new space click on the plus icon in the menu bar next to "Spaces":

This will take you to a page on which you can enter a title and a description for your space. Here you can also upload a background image for your space or choose from the existing images drop down. Make sure that your background image has a high enough resolution.
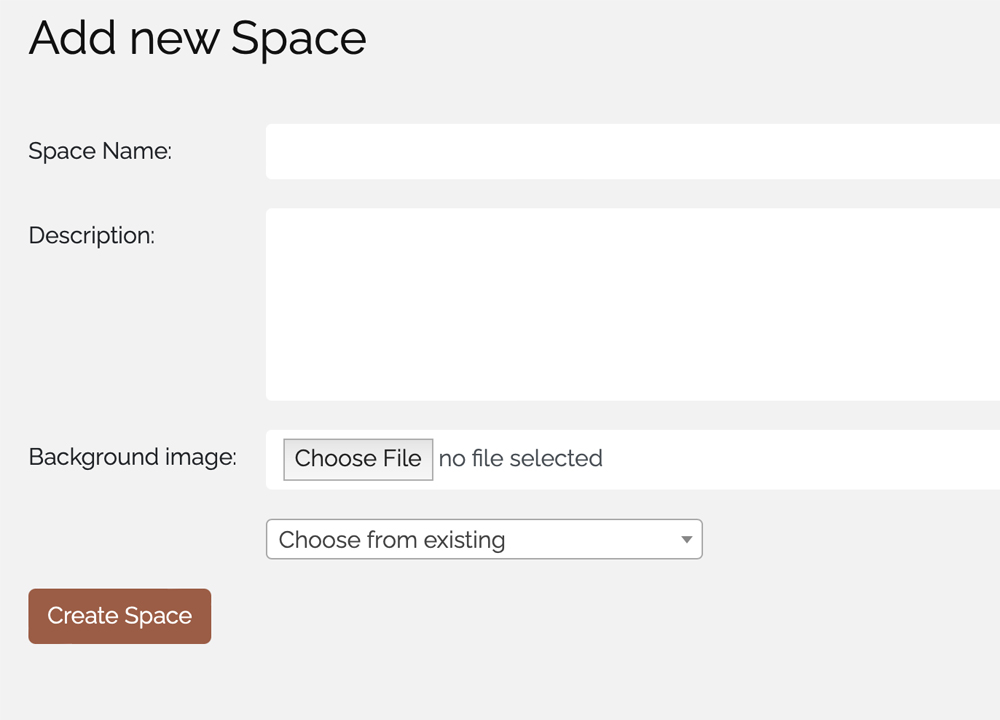
Once you are satisfied with the details click on "Create Space" button that will take you to a page that lets you add space links, external links or module links to your space.
Edit a Space
To edit the title of a space click on the space you need to edit from the space list and click on the

icon which is next to the existing title.
Change Background Image
To change the background image, click on the "Change Image" button. A dialog box will pop up that lets you upload a new image from your computer.
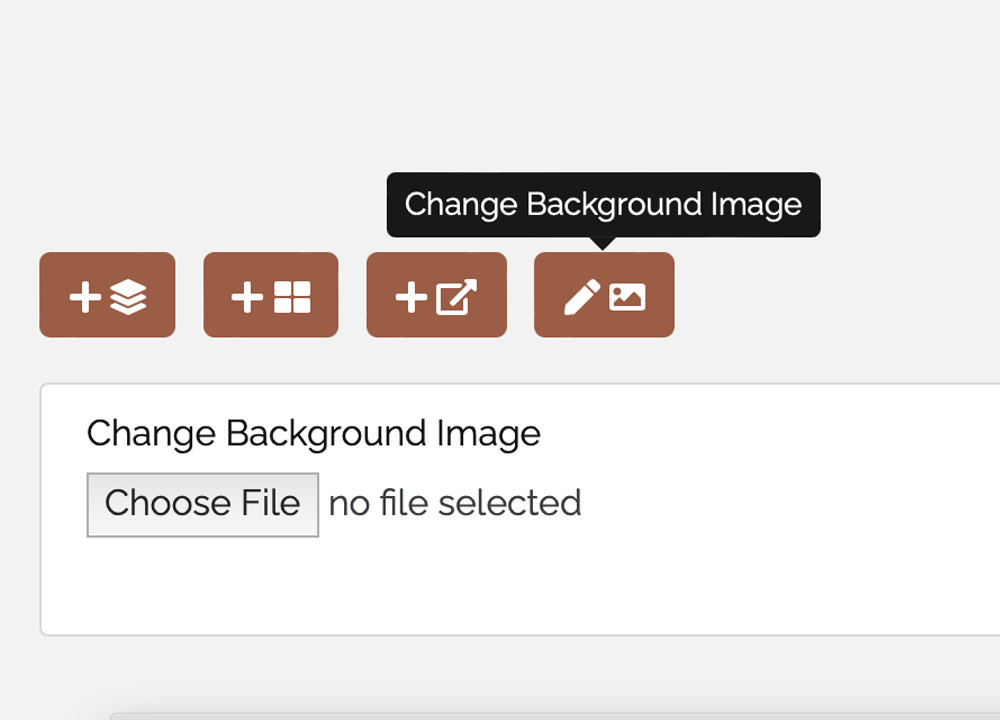
Once you have selected the image, click "Upload Image". The page will reload to display the uploaded Image.
Delete a Space
To delete the current space, you can click the "Delete Space" button and confirm the action by clicking "Delete" on the dialog box that appears or
you can also delete a space from the space list in the Space Management page by clicking the icon

next to the name of the space.
Once the current space is deleted:
You can't locate it in the Space Management page.
All the space links, external links and module links with the source being the deleted space will be deleted.
All the space links with the destination being the deleted space will still exist but will now point to nothing. Make sure you set a new target for those space links or delete them if not needed.
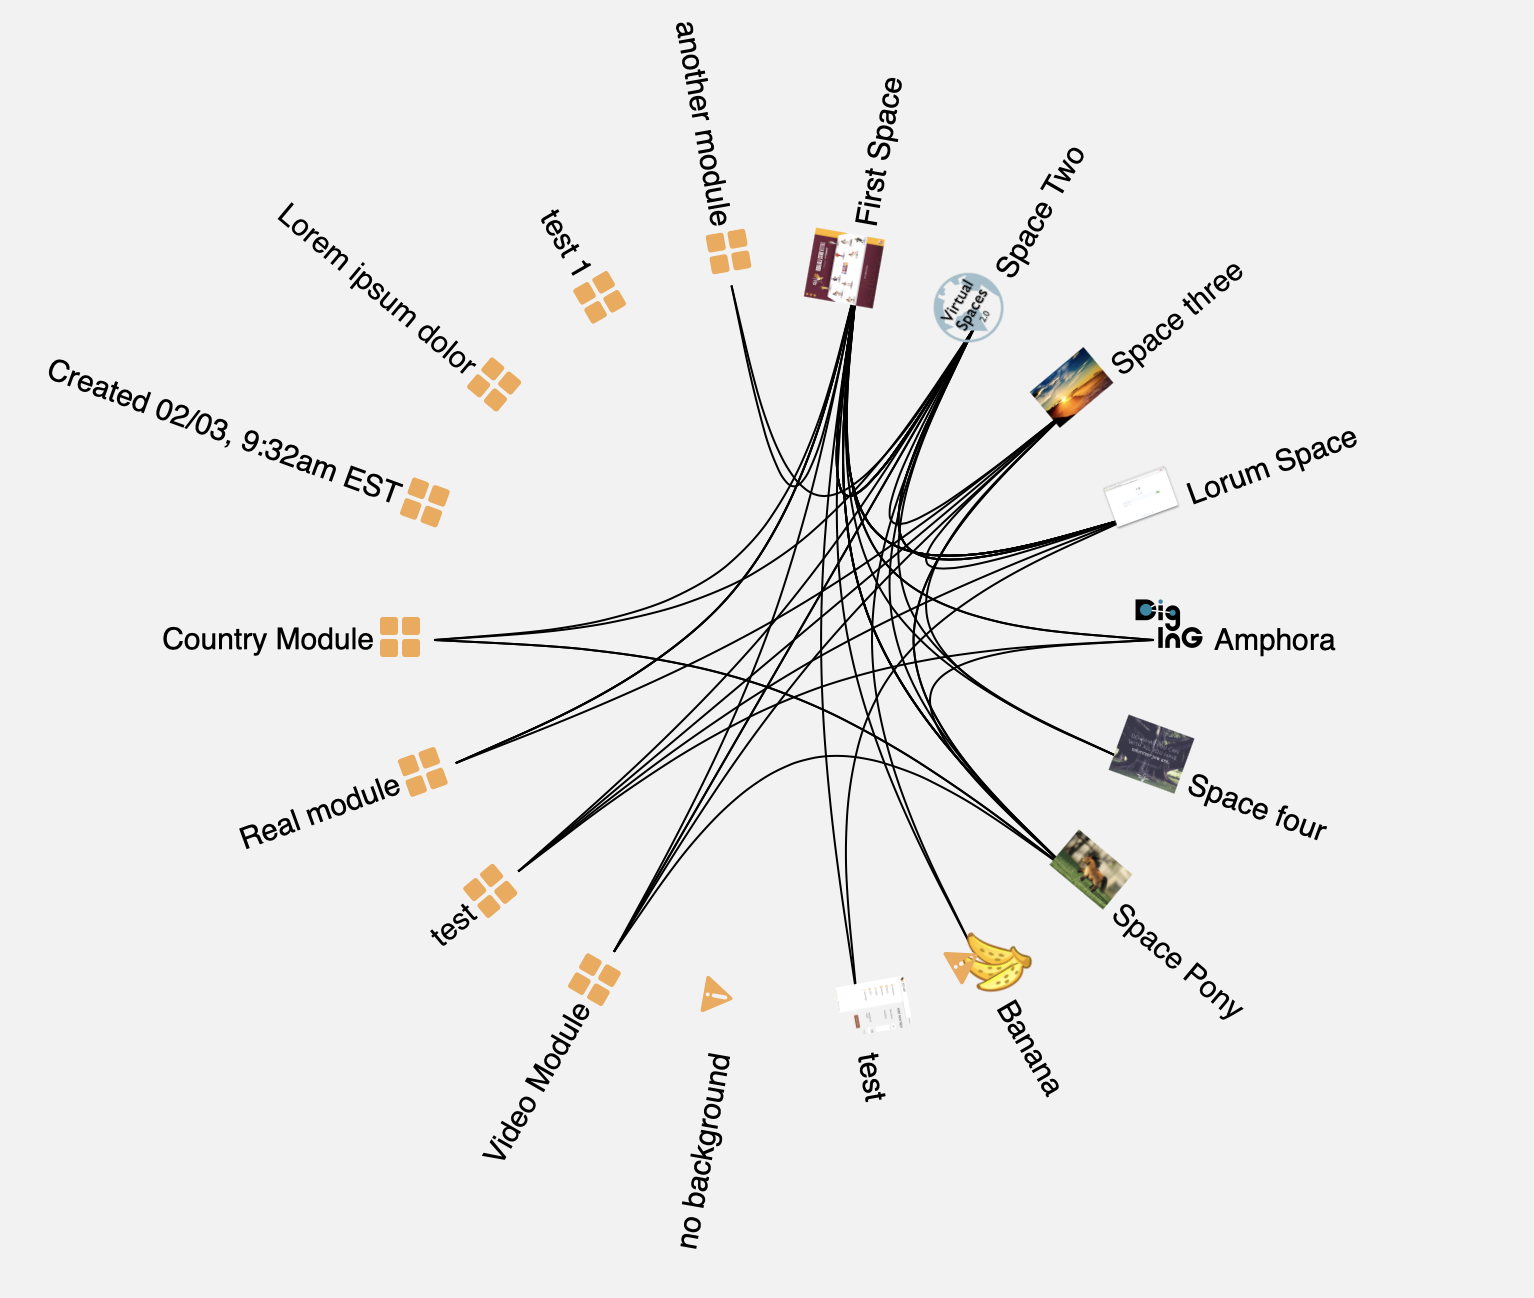
Space Overview
By selecting "Space Overview" from the menu bar, you can see how the spaces are interconnected. You may see how each slide is associated with sequences in the same module with this function. A branching point block would connect to a second sequence that was created in a module with a slide.
Overview
Clicking on the "Modules" link in the menu will take you to the Module management.
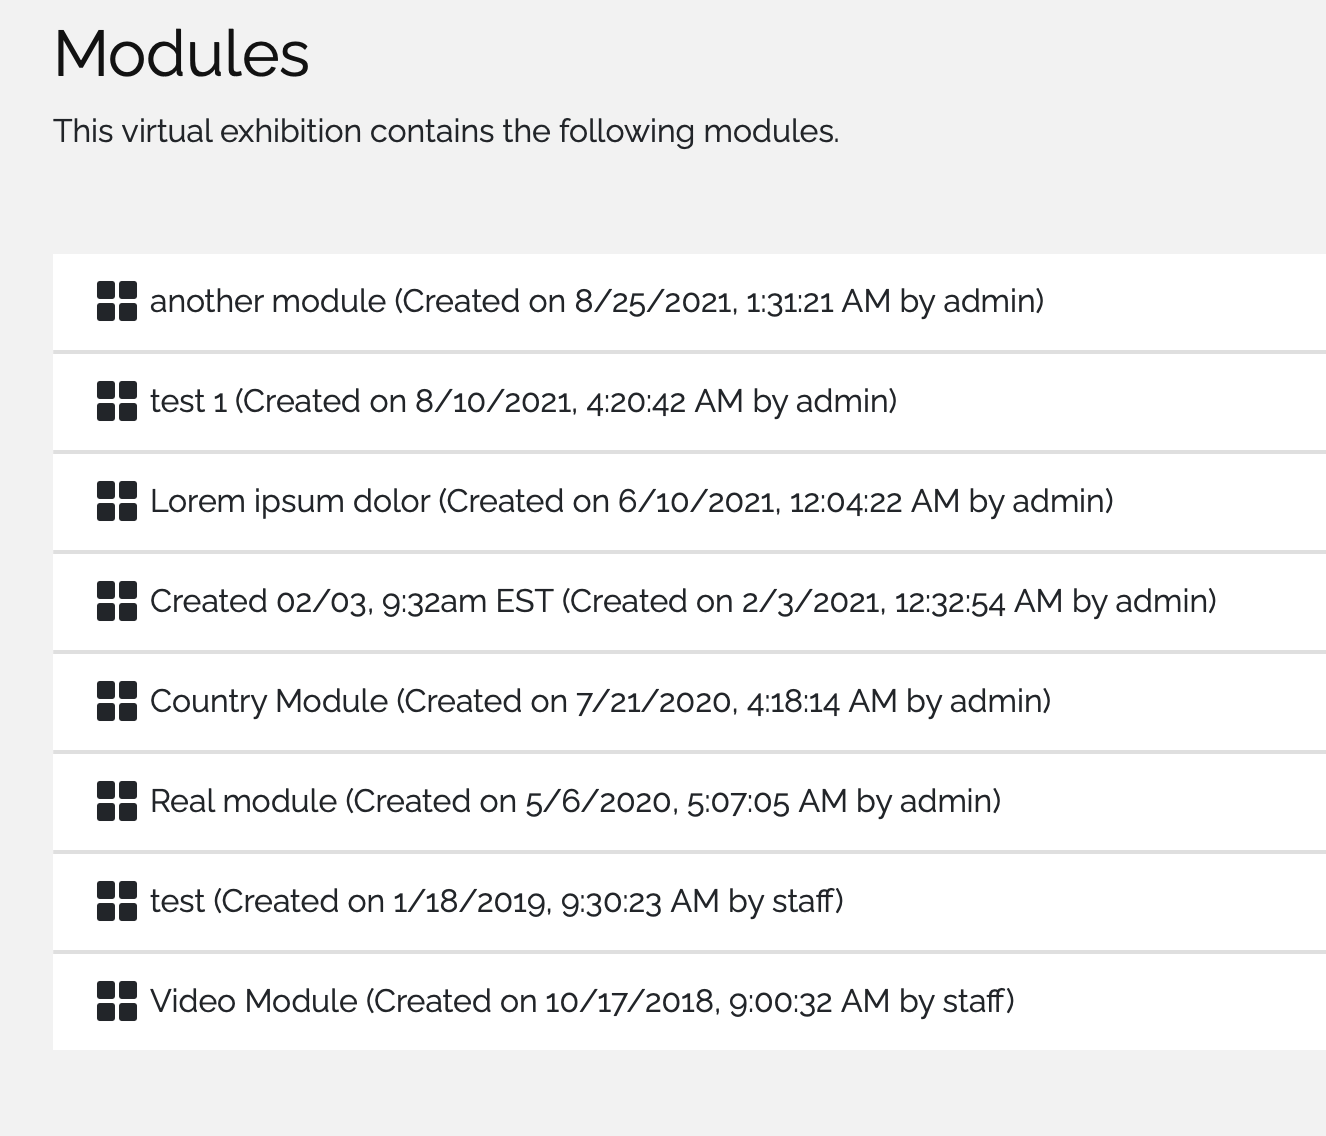
From here you can either click on an existing module to modify it or create a new one.
Create a Module
To create a new module click on the plus icon in the menu bar next to "Modules":
This will take you to a page on which you can enter a title and a description for your module. Once you are satisfied with the details click on "Create Module" button that will take you to a page that lets you add slides and sequences to your module.
Edit a Module
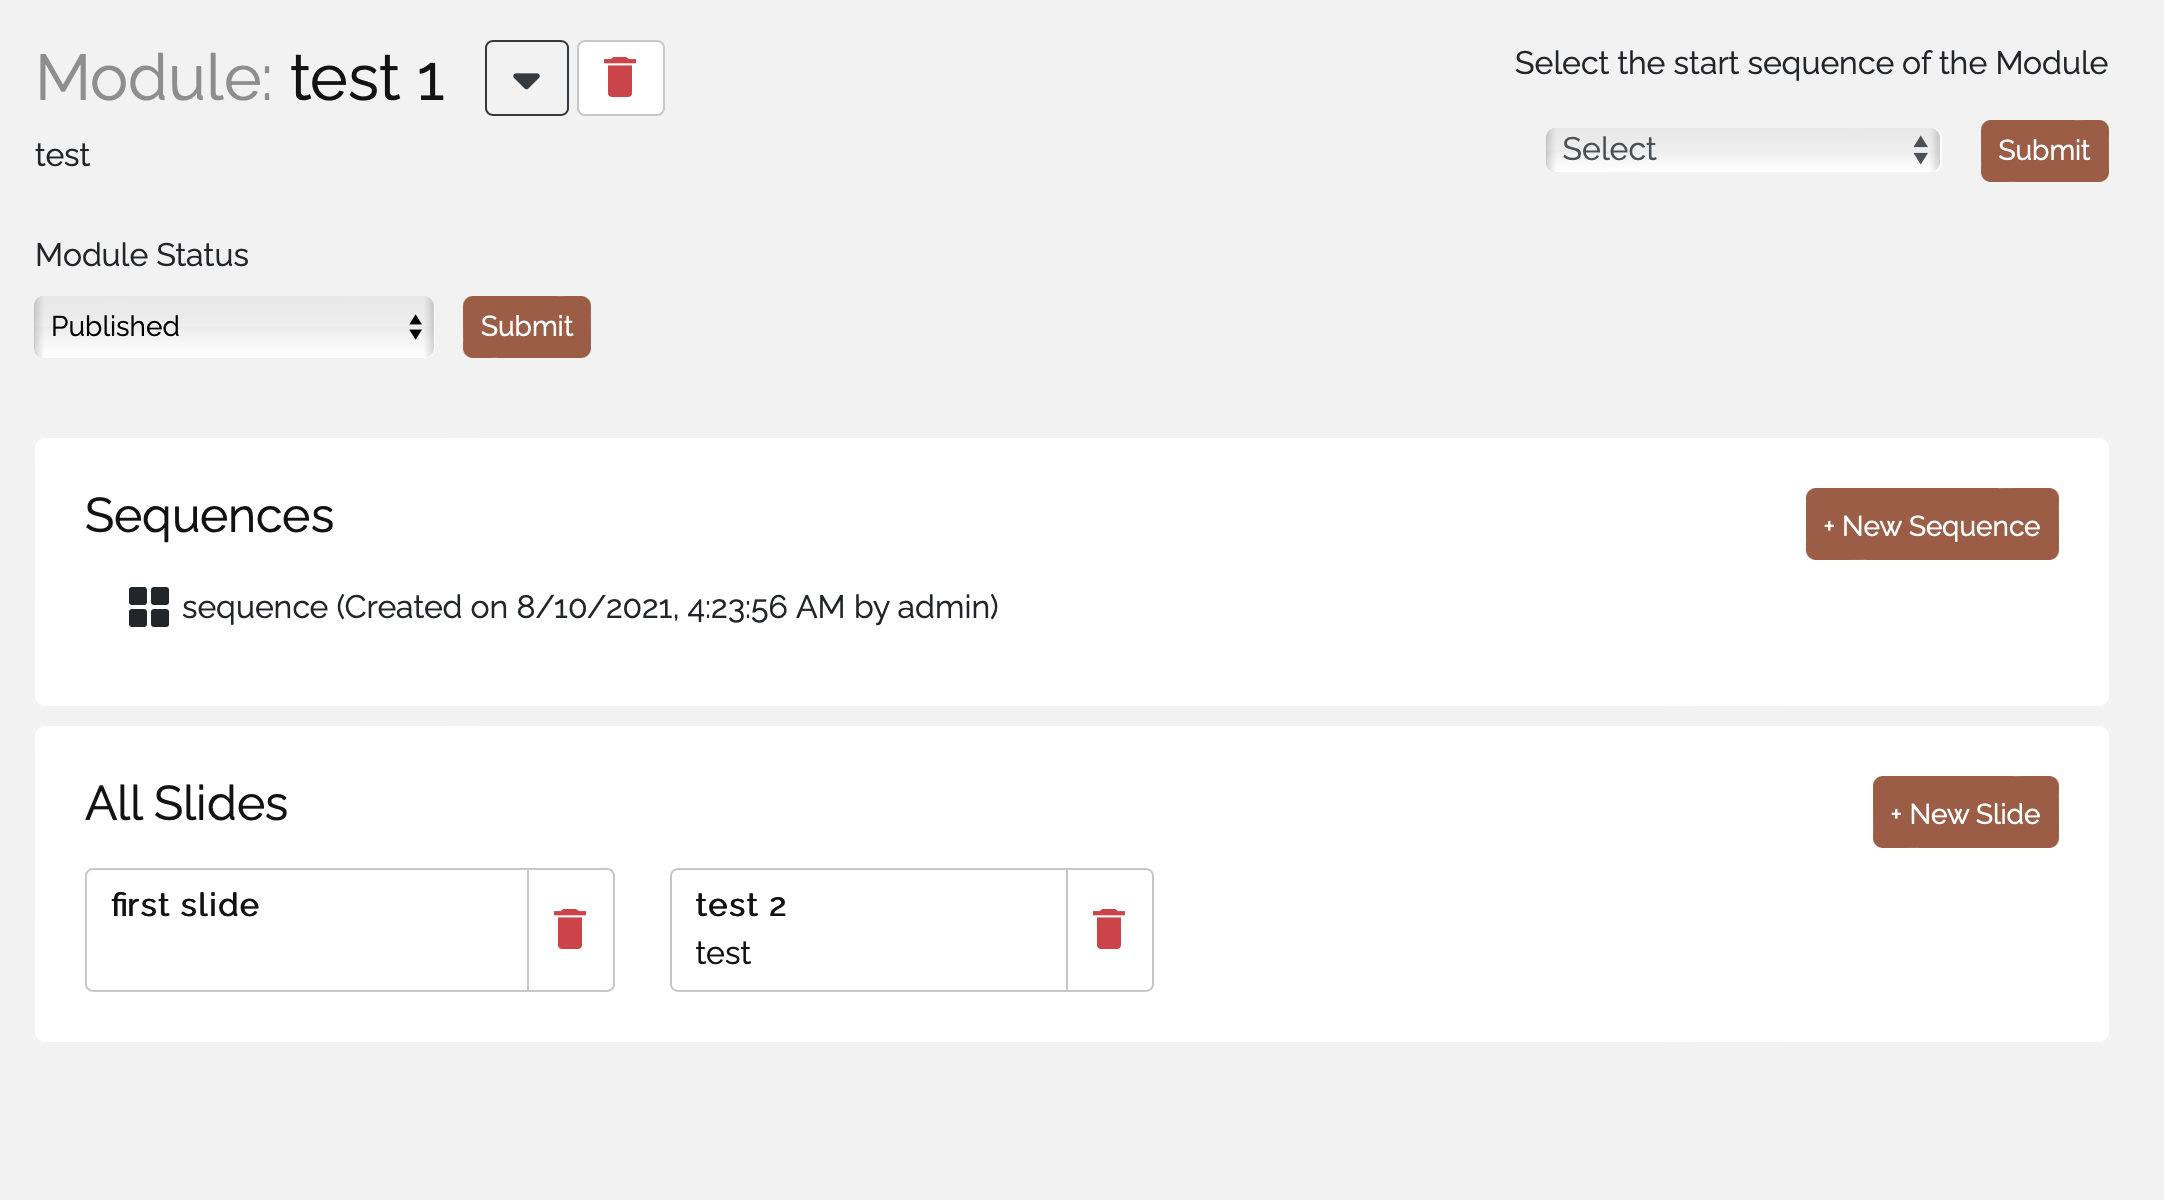
A module can have Slides which can be arranged into Sequences that define the order of the slides in a Module. Once you click on a module from the module list, you will be redirected to the module page where you can add or remove the number of Slides and Sequences based on the requirement.
Slides
Add a Slide
A Slide can contain either text or image content blocks. These slides can be used to create Sequences.
To create a new slide click on the plus icon in the Slides column head next to "Slides":

This will take you to a page on which you can enter a title and a description for your slide. Title and description will eventually show up in the Module Page, e.g. the title is shown in the slides list and the description is shown as info box.
Once you've created a slide, you will be redirected to the same module page for which you have created the slide.
Edit a Slide
To edit a slide click on the slide name from the list of slides in the module page. Once you are redirected to the slide page, you can edit the title of the Slide and the description by clicking the
icon. Each Slide consists of Text Blocks and Image Blocks representing text and images.

You can use the "Add content" dropdown and select either "Add Text" or "Add Image" based on what needs to be added for a particular slide.
Text Content Block
To add a Text Content Block to your slide, select the "Add Text" option from the "Add Content" dropdown button. A dialog box will appear that lets you create a new text block.

You can enter the text you want to add to the block in the text field of the dialog box that appears. Once you are done, click on the "Submit" button to save the Text. Once you submit the text, you will be redirected to the same Slide page in which these Content blocks will be listed one after the other.
Image Content Block
To add an Image Content Block to your slide, select the "Add Image" option from the "Add Content" dropdown button. A dialog box will appear that lets you create a new image block.

You can upload the image you want to add to the Image block in the dialog box that appears. Once you are done, click on the "Upload Image" button. Once you have uploaded the image, you will be redirected to the same Slide page in which these Content blocks will be listed one after the other
Sequences
A Sequence allows you to arrange slides in a particular order for presentation.
To create a new Sequence click on the plus icon in the column head next to "Sequences":

Start sequences set the entry point of a module. So when the user clicks on a module (in the public exhibition), the first slide of the start sequence, is shown and then the next button goes to the next slide in the sequence, etc.
Overview
To get to the user management of Virtual Spaces 2.0, go to the dashboard and click on the "Users" link in the menu. You should see something similar to this:
Edit an Image
To edit the name and description for an image, click on the image from the image list which will navigate you to the image page. Click on the
icon and once you are done with your changes click "Save Image" button to save the changes. Once this is done you will be redirected to the image page which reflects the changes made.
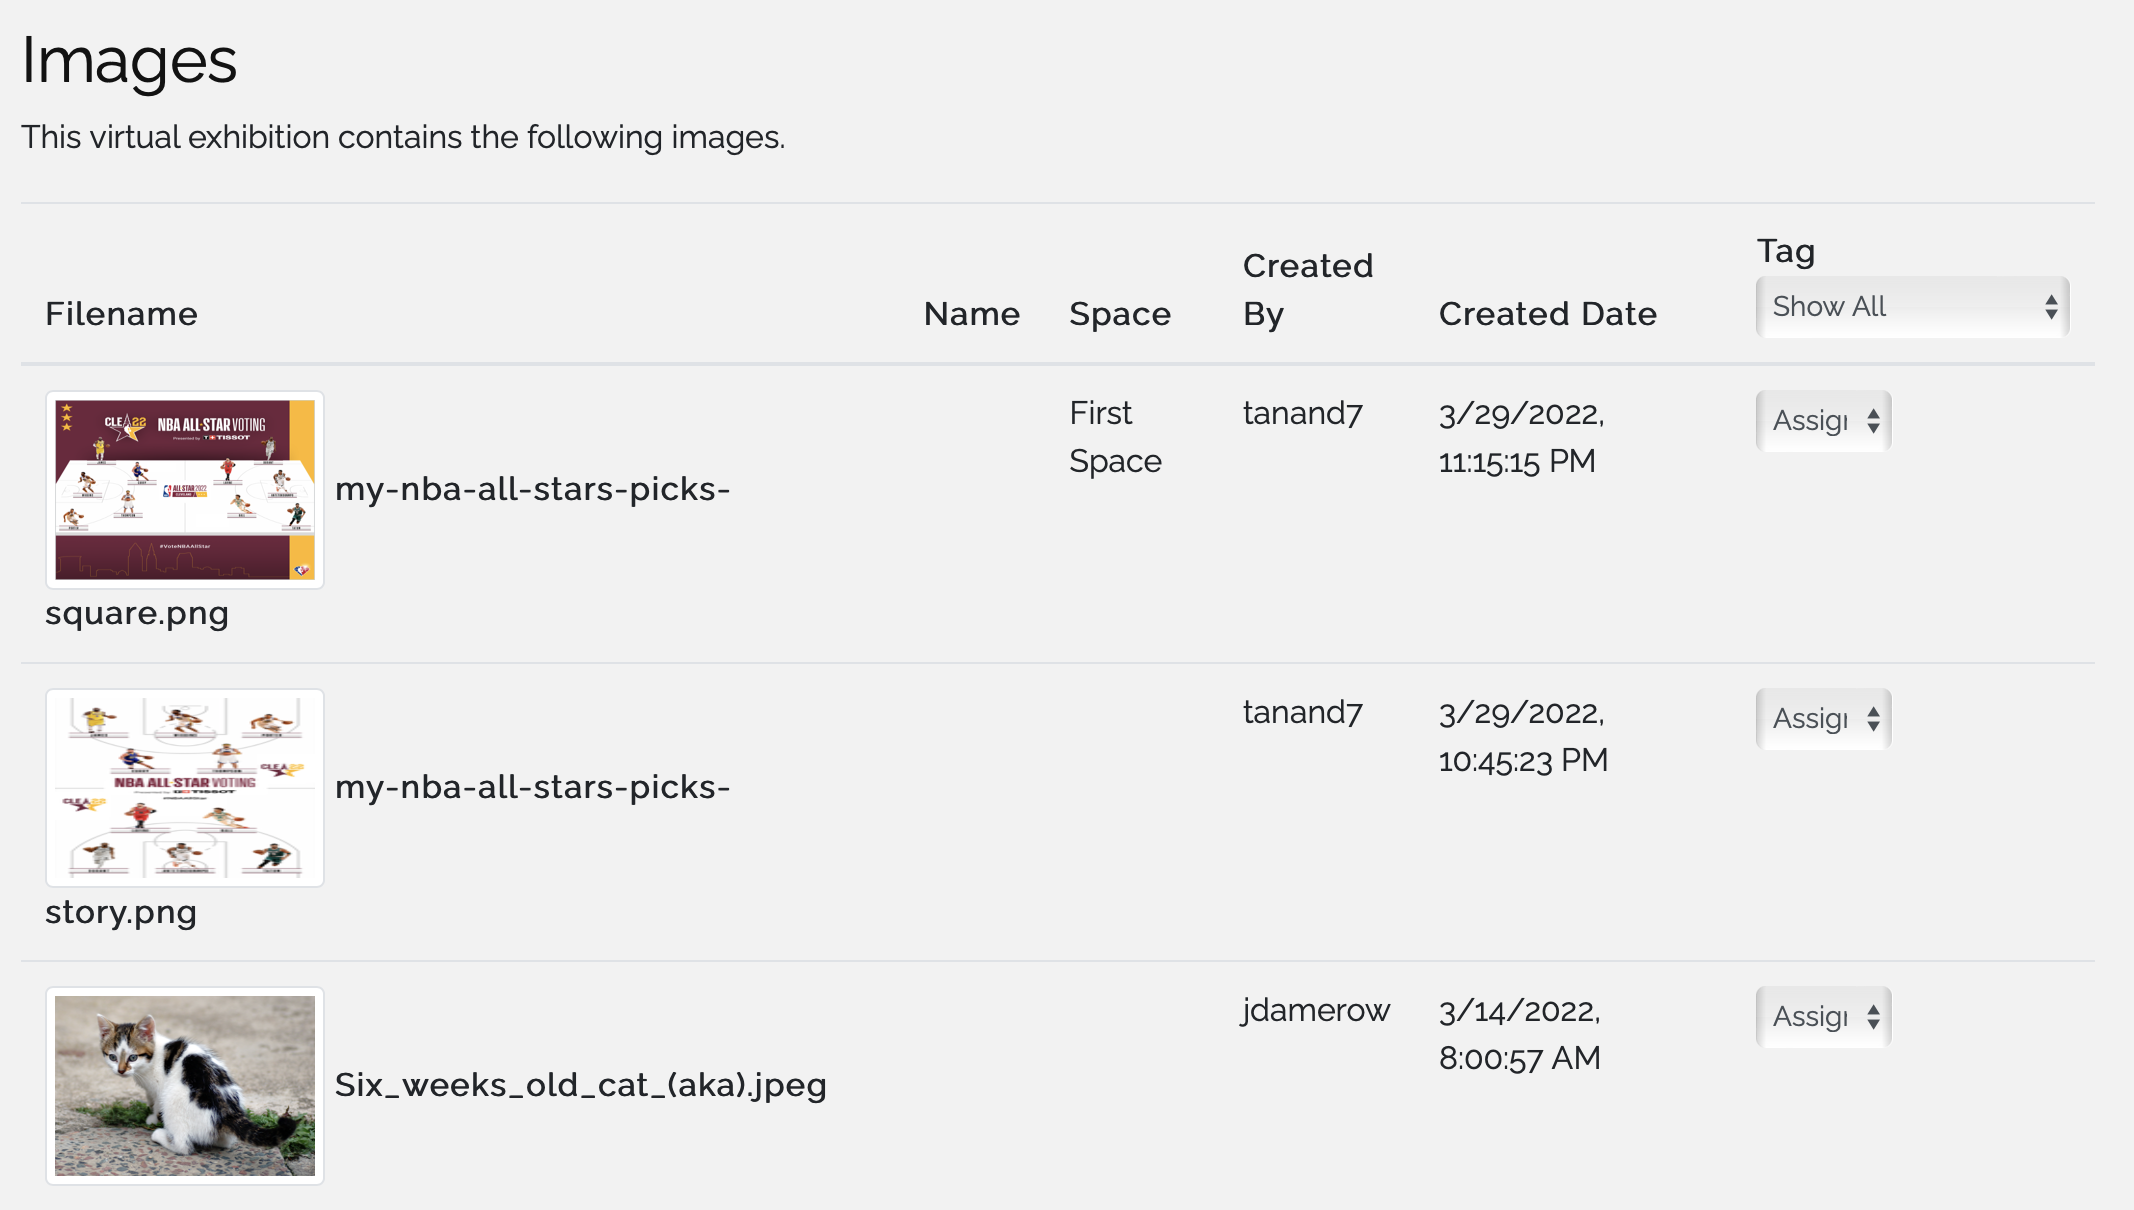
Image Tagging
You can also add tags to an image indicating its usage either as a Space Background Image, or Slide Image or a Link Image using the "Tag" dropdown option which is available for each image in the Image Management Page. Once the tags are selected for an image, you can see them in the drop down option for each image.
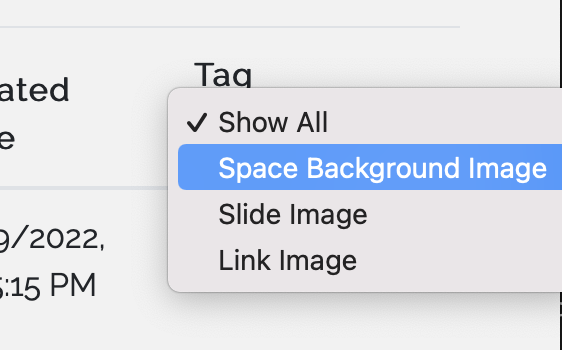
You can also delete a tag for an image by clicking the cross sign available on the tag.
Overview
The Images section, is where the entire list of all the images used in Virtual Spaces 2.0 either for a Space, a Slide or as a Link Image is displayed. Clicking on the "Images" link in the menu will take you to the Image management page.
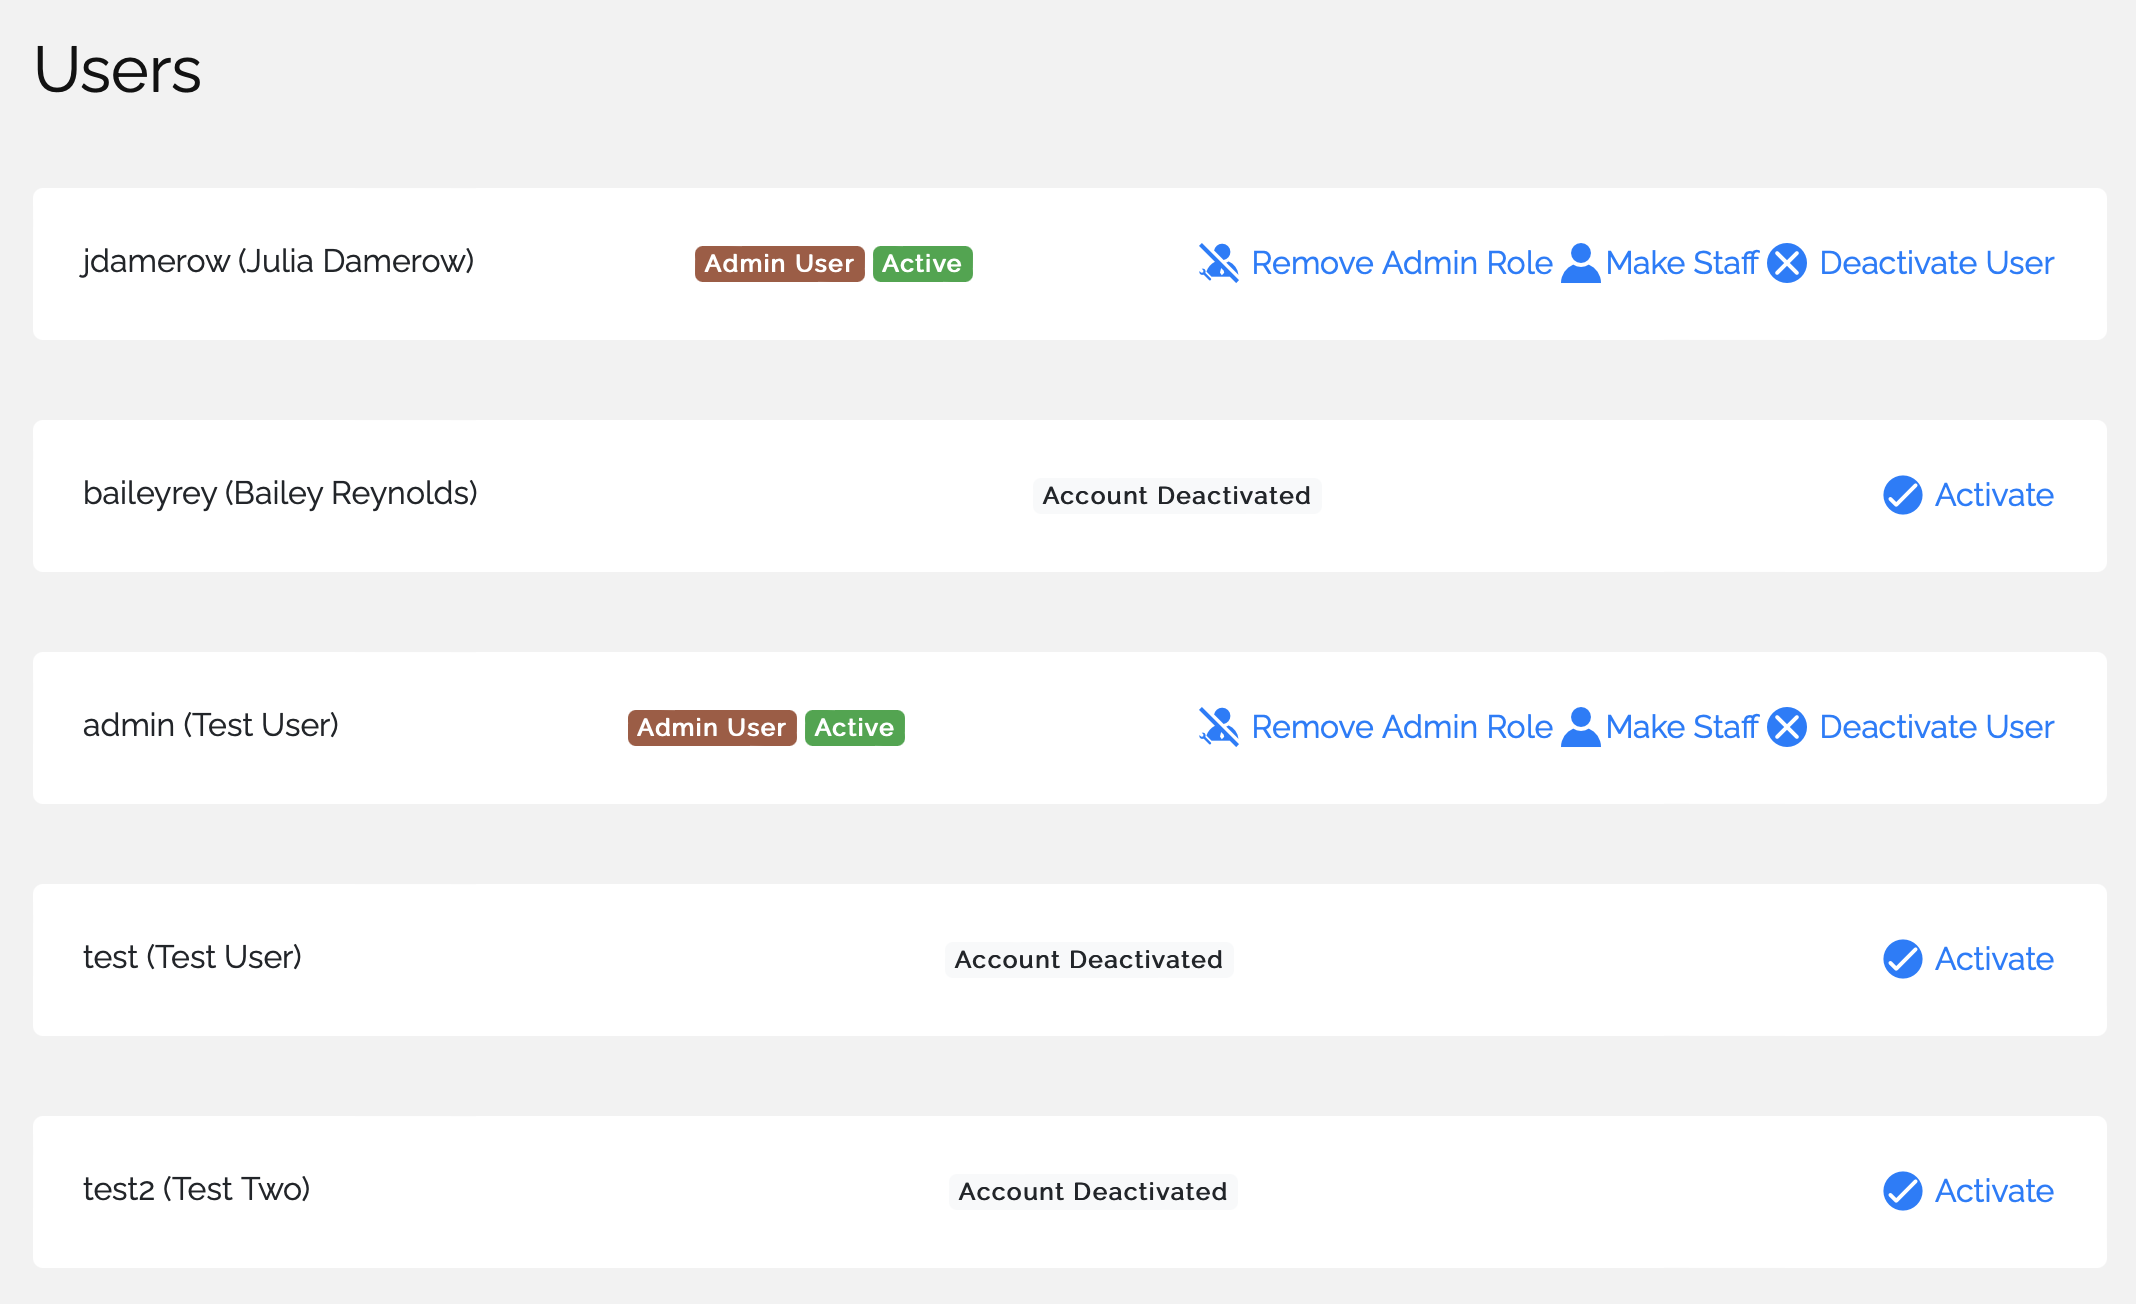
Activate a User

To edit the name and description for an image, click on the image from the image list which will navigate you to the image page. Click on the
icon and once you are done with your changes click "Save Image" button to save the changes. Once this is done you will be redirected to the image page which reflects the changes made.
Making a User an Admin
To make a user an admin user, click on the "Make admin" link next to the user. Admin users can create and edit scenes and modules, approve user accounts, and assign users their roles. Make sure to trust a user before giving them Admin privileges.
Making a User Staff
To make a user staff, click on the "Make staff" link next to the user. Staff users can create and edit scenes and modules. Make sure to trust a user before making them staff, since they have full control over a virtual space.
Deactivate a User
To deactivate a user, click on the "Deactivate User" link next to a user. Deactivating a user prevent that user to login to Virtual Spaces 2.0. It does not delete the user account. It can be reactivated at any point by clicking on the "Activate" link.